Introduction
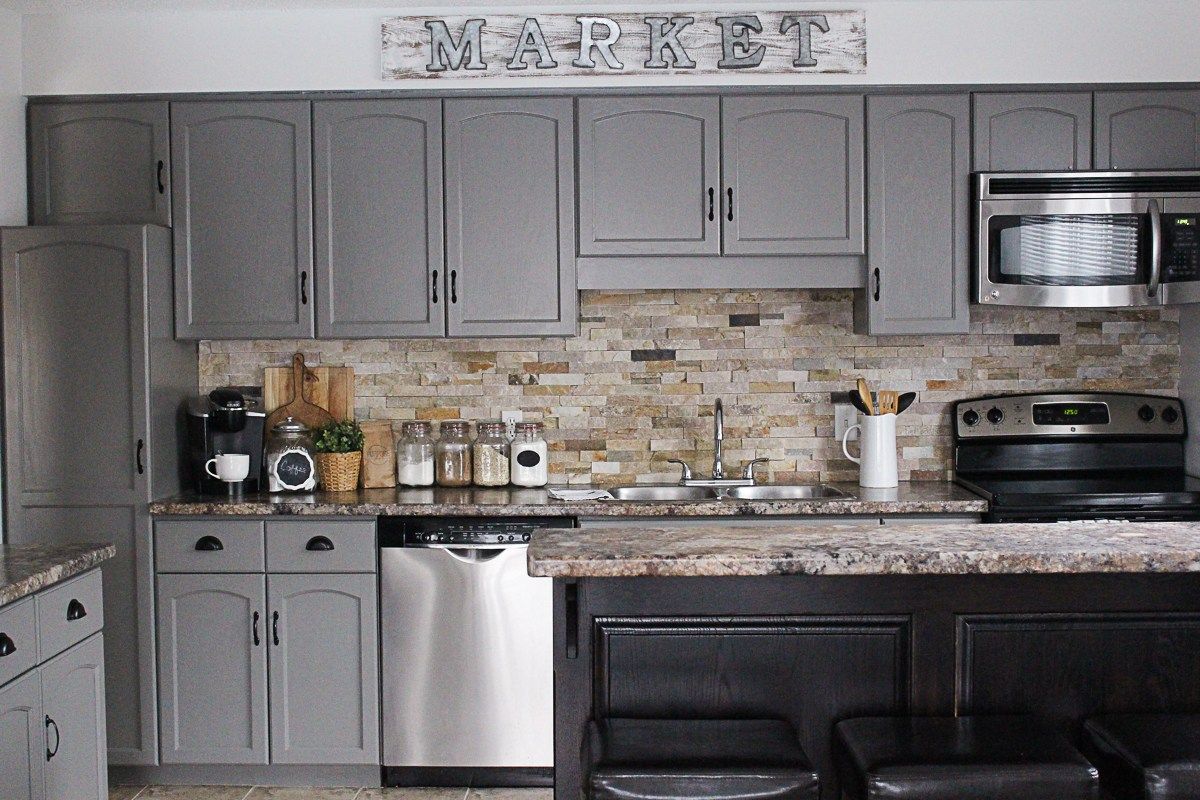
Renovating your kitchen doesn’t always have to involve a complete overhaul. One cost-effective and impactful way to breathe new life into your space is by painting your kitchen cabinets. This DIY project can not only refresh the look but also add a personal touch to your culinary haven.
Assessing Your Cabinets
Before diving into the painting process, take a critical look at your cabinets. Evaluate their current condition, material, and any repairs needed. This step sets the foundation for a successful painting project.
Identifying Surface Issues
Inspect for scratches, dents, or water damage. Addressing these issues ensures a smooth paint application.
Choosing the Right Paint
Selecting high-quality paint suited for kitchen cabinets is crucial. Opt for durable, easy-to-clean options to withstand daily wear and tear.
Planning and Preparation
Proper preparation is key to achieving a professional finish. This phase involves thorough cleaning, removing hardware, and protecting surrounding areas.
Cleaning Cabinets
Use a degreaser to remove built-up grime and grease. This step ensures the paint adheres properly.
Removing Hardware
Take off handles, knobs, and hinges before starting. This facilitates an even paint job and protects hardware from damage.
Sanding for Smooth Surfaces
Smooth surfaces are essential for flawless paint application. Sanding creates an ideal canvas for the paint to adhere to.
Choosing the Right Grit
Select the appropriate sandpaper grit based on the cabinet material. This step guarantees a uniform and smooth finish.
Filling Imperfections
Fill any visible imperfections with wood filler. Sand again for a seamless appearance.
Priming for Perfection
Priming is a crucial step often overlooked. It ensures paint adherence and enhances durability.
Using a Quality Primer
Select a primer compatible with your chosen paint. Apply a thin, even coat and let it dry thoroughly.
Sanding After Priming
Lightly sand the primed surface to create an optimal base for the paint.
The Art of Painting
Now comes the fun part – applying the paint. Follow these steps for a professional-looking finish.
Choosing the Right Technique
Opt for a brush, roller, or spray method based on your comfort and desired finish.
Applying Multiple Coats
Thin, even coats are preferable. Allow each coat to dry completely before applying the next.
Adding Personal Flair
Transform your cabinets into a unique focal point by considering creative options like stencils, two-tone designs, or contrasting colors.
Stenciling Techniques
Explore stencil patterns to add intricate details to your cabinets, elevating their aesthetic appeal.
Two-Tone Magic
Experiment with a two-tone approach, combining complementary colors for a visually dynamic result.
Sealing the Deal
Protect your hard work by sealing the cabinets. This step ensures longevity and easy maintenance.
Choosing the Right Sealant
Select a clear, durable sealant to protect against scratches and spills.
Proper Application
Apply the sealant evenly, allowing it to dry completely before reattaching hardware.
Conclusion
Painting your kitchen cabinets is a rewarding DIY project that adds character to your space. By following these steps, you’ll not only achieve a stunning transformation but also enjoy the satisfaction of a job well done.
Frequently Asked Questions (FAQs)
- How long does the entire painting process take?
The timeline depends on factors like cabinet size and drying times. Generally, plan for a weekend or a couple of days.*
- Can I paint laminate cabinets?
Yes, with proper preparation and the right primer, you can successfully paint laminate cabinets.*
- Is it necessary to sand between coats?
Light sanding between coats ensures a smoother finish and optimal paint adhesion.*
- Can I change the cabinet color more than once?
Yes, but thorough cleaning, sanding, and priming are crucial for a successful repaint.
- What if I make a mistake while painting?
Don’t worry! Sand away the mistake, touch up the area, and continue with the process.


